Friday, August 31, 2012

Nonna's Chocolate Cookies

My grandmother was from Sicily.  I loved going to visit her when I was young.  My Nonna and Nonnu mostly spoke Italian.  I couldn't understand what they were saying but I loved hearing it. 


When I would visit, my Nonna always had these chocolate cookies.  I love these things and they are very easy to make.  Here are the ingredients:

1 cup oil
1 cup sugar
1 cup milk
3 tablespoons cocoa powder
1 teaspoon cinnamon
1/2 teaspoon cloves
1 teaspoon baking powder
1/4 teaspoon black pepper (yes, black pepper)
1/8 teaspoon salt
Enough flour for cookie consistency - about 4 cups

Glaze

1/3 cup butter
2 tablespoons lemon juice
1 cup powdered sugar


Mix the first 9 ingredients together and add the flour slowly.  Stop adding flour when you can roll a cookie in your hand without it sticking (about 4-4 1/2 cups). 


Don't say anything........I know, it looks gross, but trust me!

Cook the cookies for 15 minutes on 350 degrees.  Remove the cookies and let them cool.  After they have cooled, dip them in the glaze.  If your balls are the size in the picture, cook them for 15 minutes.  If you have small balls, cook them for 13 minutes (yes, I am laughing as I type this.......).


These cookies are super easy and very good!  They are really chewy, and not too sweet.  Go a little old school Italian and see if you like it!

Nonna and Nonnu
 
Mangia!  This recipe is featured on Simple Living and Eating


Sunday, August 26, 2012

Elderberry Syrup for Colds and Flu

Pin It
Last year I had a discussion with a colleague of mine and she told me that her husband was making his own cough syrup using Elderberry.  They purchased several Elderberry bushes and were using the berries to help fight infection.


Since that time I have been doing some research on Elderberry and am intrigued to learn all of its medicinal uses.  Elderberry is commonly used in Europe to fight the flu:  http://www.thefreelibrary.com/Elderberry+Does+More+than+Flavor+Your+Pancakes-a01073878516

Research has been done on Elderberry and its ability to fight H1N1:  http://www.livestrong.com/article/146300-medicinal-uses-of-elderberry/

As I gathered information on the Elderberry, I noticed that it is effective to relieve the nasal passages due to allergies and sinus problems.  Unfortunately, I have had severe allergy problems for over a year now and have not been able to find relief.  My allergist has me on a nasal spray, Zyrtec and Singulair.  These medicines simply are not working.  The next step is weekly allergy shots.  Before I give in to that, I'm going to try making Elderberry syrup!

There are many recipes for Elderberry syrup.  The basics include Elderberry juice and local honey (which is also known to boost immunity and help fight allergies).  I've chosen to include a few extra goodies in my syrup!  Here are the ingredients I used:

1/2 cup dried Elderberries
2 cups water
1 cinnamon stick
1 Tablespoon cloves
4 Tablespoons fresh ginger
1 cup honey

The first step is to reconstitute the Elderberries.  To do this, I simmered the dried Elderberries (available online - I got mine from Amazon.com).  I've heard Mountain Rose Herbs is good also:
http://mountainroseherbs.com/.  


I added the cinnamon stick and cloves, as well as the ginger.  I simmered that for 30 minutes.  After that time, I used a masher to mash the berries, allowing them to give up their juice.  When that is finished, I strained out the juice, discarding the berries, clove sticks, ginger and cinnamon stick.


I let the juice cool and then added the cup of honey.  Store the syrup in the refrigerator and it will last several months.   The research I've done says that adults should take 1/2 tablespoon - 1 tablespoon per day.  Apparently if you get sick, you can increase the dosage by taking it every 2-3 hours.   I am not a doctor, only a school principal.  Please do not sue me (I'm in hock up to my ears - you won't get anything).  I am only letting you know what I am going to try.  You need to make your own decisions, along with your doctor.


Apparently the berries are ripe, in late August and September.  I'm thinking about going on a hike to see if I can spot some..................(those of you that know me are now laughing hysterically.

Wish me luck!  I hope that this helps relieve my allergy symptoms! 

Saturday, August 18, 2012

Granny's Applesauce Cake

Pin It
One of my favorite family recipes is my Granny's applesauce cake.  My mom makes it every year at Christmas.  This recipe was my Great Grandmother Nellie's recipe.  When I was young, I was able to visit her in Oregon.  Although I didn't know her well (she died when I was young), my sister Karrie and my Mother tell me stories about her.  Apparently she was a spitfire!

My Granny, Nellie Newman
Here are the ingredients for her applesauce cake:

2 1/2 cups flour
2 cups applesauce
2 teaspoons baking soda
3 tablespoons cocoa
1 cup buttermilk
1 cup raisins
1 cup chopped prunes
1 cup walnuts
2 teaspoons each:  allspice, cinnamon, nutmeg
1 cup shortening
1 cup sugar
1 teaspoon vanilla
2 eggs
1/8 teaspoon ground ginger
1/4 teaspoon ground cloves
1/2 teaspoon salt (My sister Karrie and I decided to add this)


Stew raisins and prunes.  Drain well.  Mix dry ingredients in a bowl.  In a separate bowl,  cream shortening and sugar.  Add in vanilla, applesauce, and eggs.  Alternate mixing in dry ingredients and buttermilk.


When the above ingredients are mixed in, stir in the raisins, walnuts and prunes.  Put all ingredients into a bundt cake pan that has been buttered and floured (or sprayed well with PAM).

Karrie and Julia getting ready to put the cake mix in the pan


Bake cake for 20 minutes at 350 degrees.  Then turn the oven down to 325 degrees and bake for another 60 minutes.  Check the cake at this time.  If you insert a toothpick and it comes out clean, the cake is done.  If it isn't done, cook for another 10 minutes and check it again. 


My Granny never wrote her recipes down.  In 1982, my Mother's last visit with Granny, they made this cake together and my mom wrote it down.  All of the relatives still think it is missing a secret ingredient that Granny never divulged.  I like to think that the secret ingredient that is missing is her.....................


Enjoy!

Monday, August 13, 2012

Homemade Ravioli

Pin It

Growing up Italian, I savor every form of pasta.  BUT, if I had to pick my all time favorite it would be meat ravioli!  I remember growing up, my Nonna had it at Christmas and my mother would make it as well.  About 10 years ago, my mom showed me how to make it.  I didn't appreciate it at the time, too busy with everything unimportant in my life.  As I've grown older, I appreciate these family traditions more.  And so, with my sister and nieces coming to town, I asked my mother if she would show us (again) how to make ravioli.  I promise mom, that I won't forget this time!

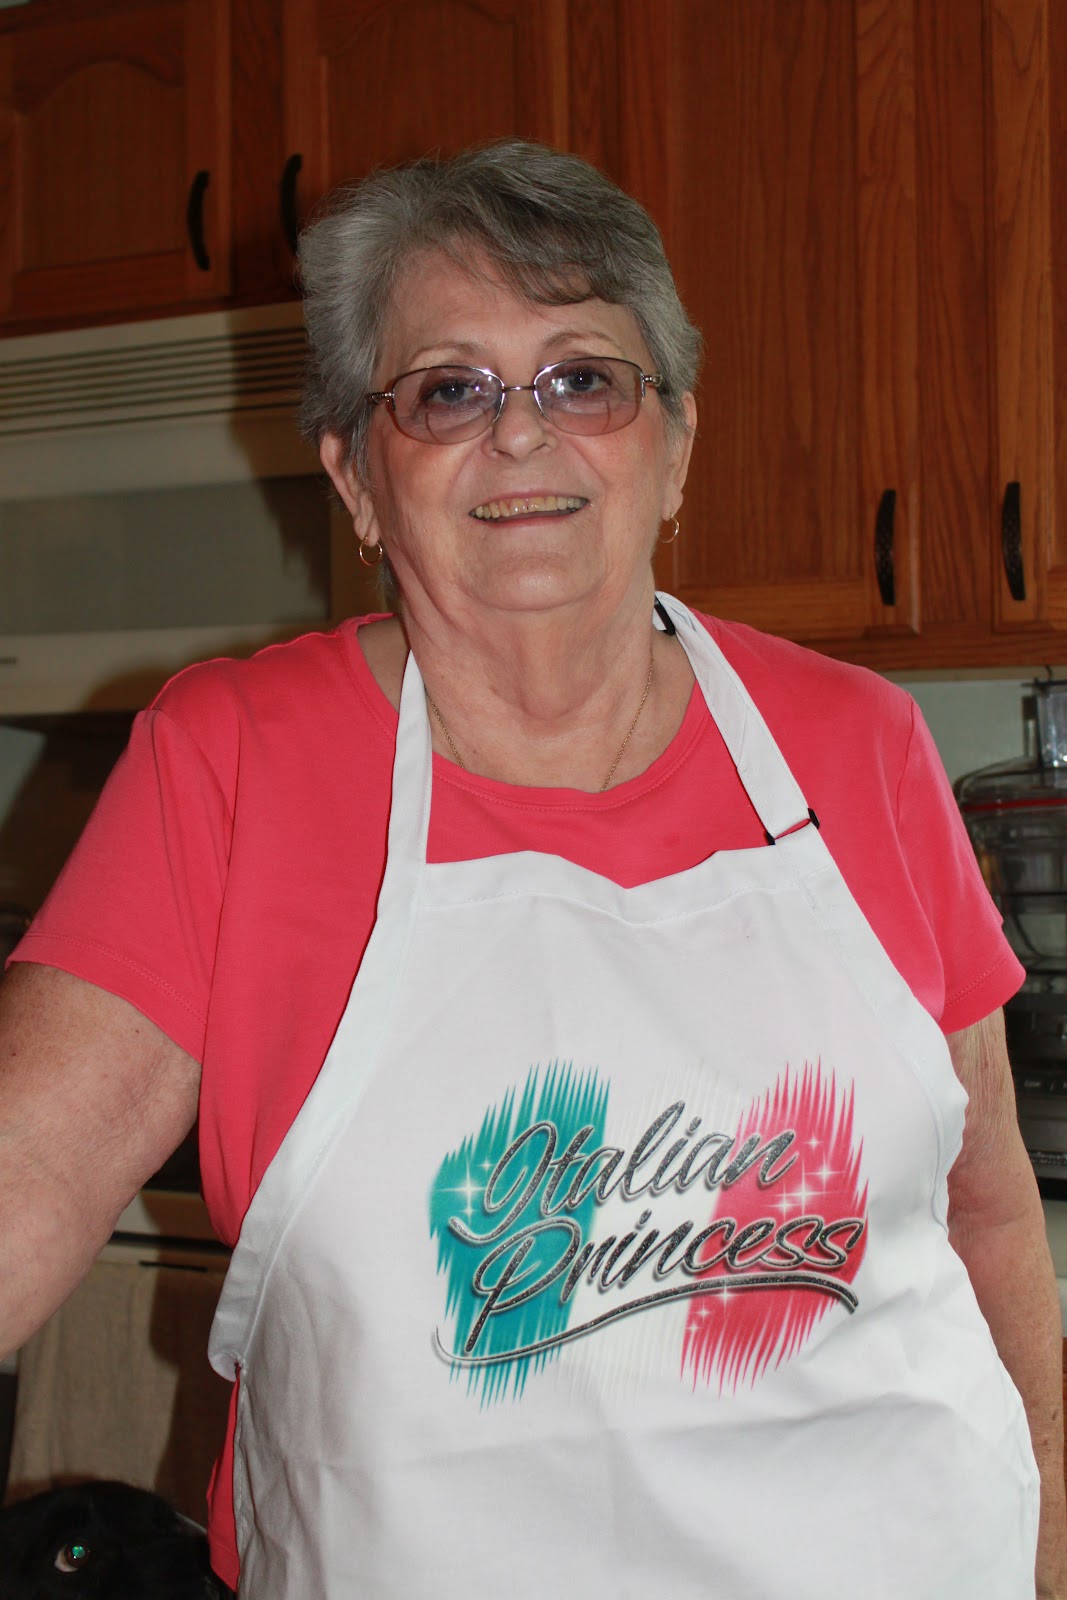
Mom - the Italian Princess

To start, I made a HUGE pot of sauce (http://rediscovermom.blogspot.com/2012/07/meat-sauce.html), omitting the meat. 

To make the ravioli filling, combine 1 pound of ground beef, 1/2 pound ground pork, 1/2 pound ground veal, 1 cup Parmesan cheese, salt, pepper, and 3 tablespoons parsley.  Make into meatballs and put them raw into the sauce.  Allow the meatballs to cook in the sauce for several hours.  This will also flavor the sauce.

Next, it is time to make the pasta dough.  Here are the ingredients:

4 cups flour
6 eggs
1 tablespoon olive oil

We wanted to learn to make dough like the Italians do so my mom told us to put the flour  in a heap right onto the counter.  Whisk the eggs.  Make a well and put most of the egg mixture, along with the olive oil into the center.  Slowly stir the eggs, incorporating the flour. 


Mom shows Karrie how to make pasta dough

As you incorporate the flour, it will form into pasta dough.  If it is too crumbly, add the rest of the eggs.  The dough should be a light yellow and be moist but not sticky.

When the dough is finished, put it under a damp towel and leave it to rest for 30 minutes.  Each roll of dough makes about 30 ravioli.

While the dough is resting, time to grind the meat.  The ingredients for the ravioli filling are:

Meatballs
1 can carrots
1 can mushrooms
1 can spinach

My mother had my Nonna's meat grinder.  We assembled it and started running everything through the grinder.

Mom supervising Tonette and I at the meat grinder......she's good at that!


Now it's Julia's turn at the wheel!


When the pasta dough has rested 30 minutes, it's time to roll it out.  Several years ago my mom and dad went to Italy.  When they were there, they bought a pasta roller.  You don't need to go to Italy to buy a pasta roller.  They have them here in the U.S.!  Or, you can do it the old fashioned way and roll it by hand.  That is what my Nonna used to do.


When you roll out pasta dough, set the rollers to 1.  Roll 1/3 of the dough ball through.  After it goes through the rollers, fold it in half and send it through again.  Roll it through he number 1 setting 5-6 times.  Set the pasta roller to the number 2 setting.  Roll it through once.  Set the machine to number 3.  Roll it through once.  Continue all the way to number 5. 

Julia and Tonette roll the pasta through the pasta machine


A little fun with the gals!


The pasta came out in 3-4 foot sections.  We were able to lay it across my island, with the sides hanging off the side! 

Take small balls of meat and place it onto the pasta sheet.  We put two balls across and fill the sheet until half full. 


When you filled the pasta sheet until half full, put your fingers in water and run it along the sides and middle so that when you fold the pasta over it seals.


When you fold the dough over, press in the center first.  This will allow you to dissolve air pockets before sealing around the meat.  Press from the center, around the meat.  Press the edge down after the air pockets are gone.  When the ravioli is sealed, take a pizza cutter or a ravioli cutter and cut individual raviolis. 

We had some extra dough so we used the pasta machine and made fettuccine noodles.  We sat the noodles out overnight to dry.  My dad said that my Nonna would make fresh pasta and drape it over the chairs to dry!


Was this a long afternoon?  YES!  But, it was all worth it!  The meal was great but what I loved most of all is that I was able to spend the afternoon with my mother, my sisters and my niece.  That is really the lost art of our grandmothers!

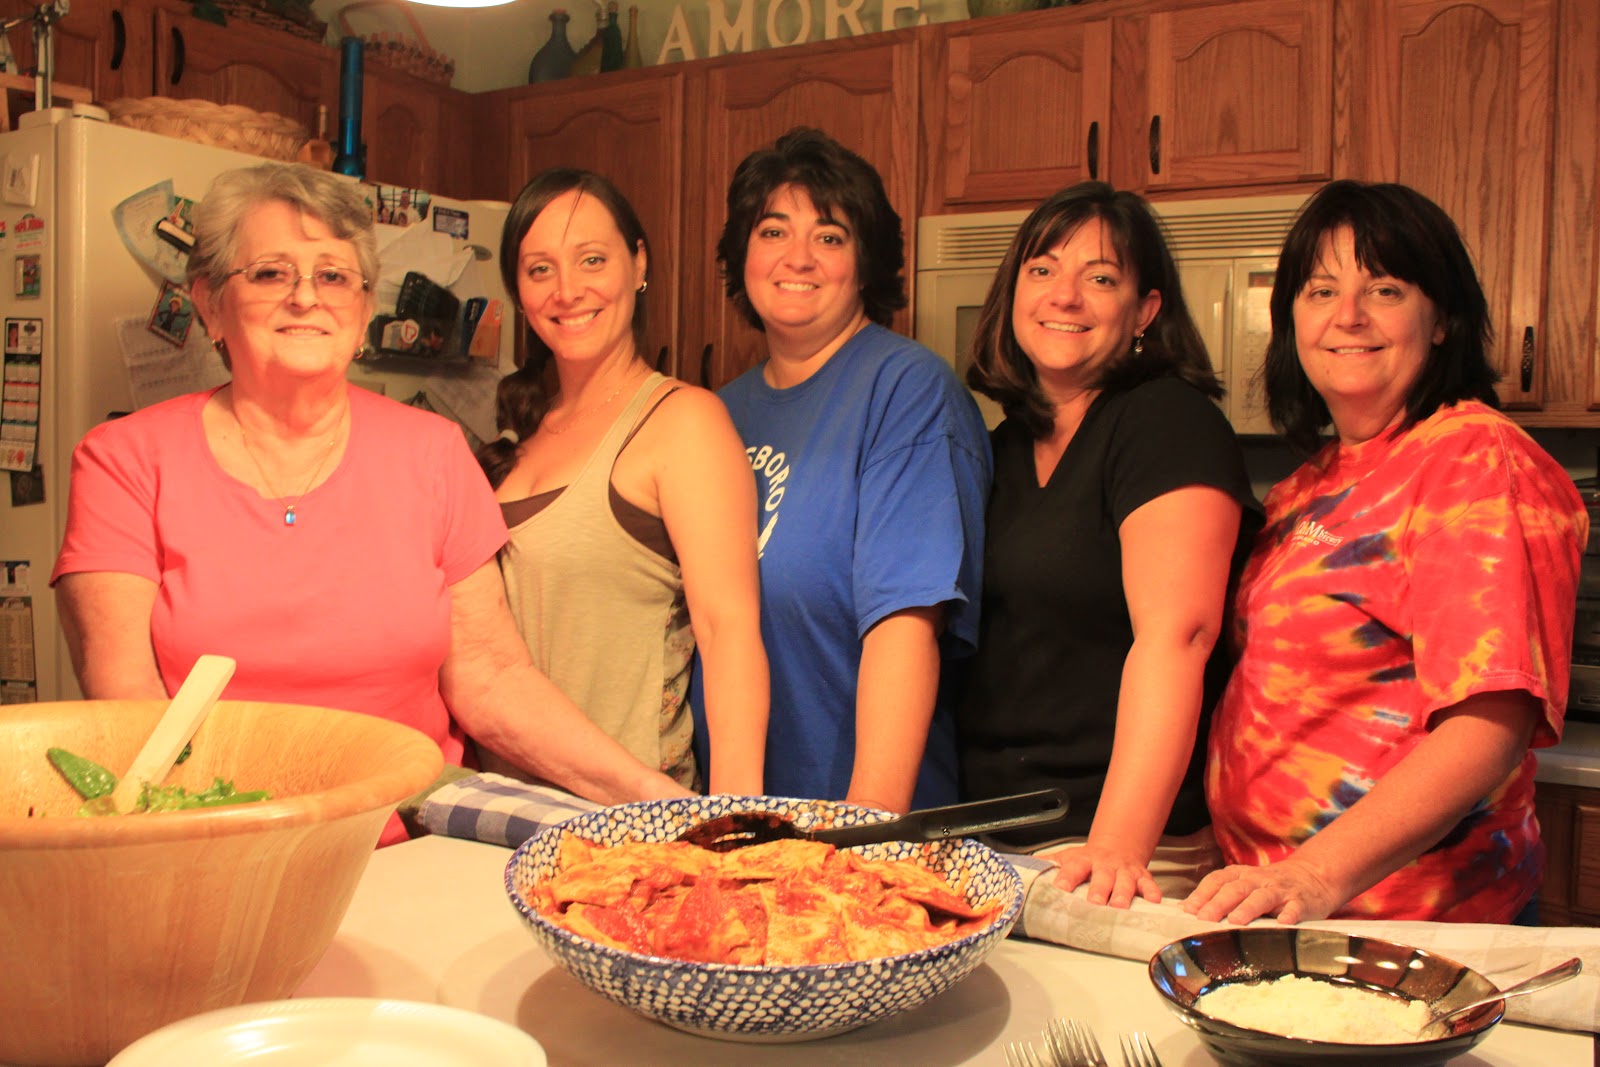
Mom, Julia, Me, Tonette and Karrie


Mangia!  This recipe is featured on Foodie Friends Friday!


Sunday, August 12, 2012

Karrie's Cannoli's

Pin It
Today is the day my sister's and I will learn how to make homemade ravioli.  My mom is coming over to teach us how!  As my sister Karrie and I were thinking about what we were going to have with the ravioli, she told me that she has a great recipe for cannoli's. 

Here are the ingredients we gathered:


Whole Milk Ricotta Cheese - 2 15 ounce containers
Marscapone Cheese - 4 ounces (1/2 of a container)
Mini Chocolate Chips - 1/2 cup
Lemon Juice - 1/3 cup
Zest of 1/4 orange - 1 teaspoon
Vanilla - 1 1/2 teaspoon
Powdered Sugar - 3/4 cup - 1 cup, depending on how sweet you want it

My sister Karrie

Mix ricotta, sugar, lemon juice, vanilla, chocolate chips and marscapone cheese.  Sweeten to taste.  Add zest of orange.  Stir and refrigerate for at least one hour for the flavors to marry.


Tips from Karrie:  Always wash your fruit if using zest.  Always spoon your powdered sugar into your measuring cup so that it is light and airy.  

After the mixture has completely chilled, you can stuff your cannoli shells.  We took the easy way out and stuffed some shells we had gotten from my mother.

Jerry, my sister Tonette's better half, is a chef.  He put the cannoli mixture into a zip-loc bag and snipped the corner off.  This is an easy way to stuff the shells.

Jerry shows Tony (my nephew) and Karrie how to stuff the shells.


My niece Sierra and nephew Tony - he is stuffing the shells and she is dipping the ends in chocolate chips!


Jerry's Tip:  Jerry is a chef and he said he puts a little Grand Marnier into his cannoli's.  How good does that sound?!!!

Mangia!  This recipe is featured on Simple Living and Eating!


Sunday, August 5, 2012

Aunt Trudy's Refrigerator Pan Rolls

Pin It

My Aunt Trudy lives in California.  Although I don't get to see Aunt Trudy very often, I have some great memories.  She is a feisty woman!  I remember one time we were in Oregon at my Aunt Hazel's farm.  We were picking blackberries or some kind of berry.  As we were picking, Aunt Trudy looked up and there was a snake staring right at her!  Needless to say, some of her feisty-ness came out that day!


Aunt Trudy shared this recipe with me for the blog.  As I type, I am eating one of these fabulous rolls!  This roll is fluffy and mmmm, mmmmm good.  I slathered mine with butter and am loving it!

Ingredients:

1/2 cup sugar
2 teaspoons salt
2 packages dry yeast
6-6 1/2 cups flour
2 cups water
1 stick butter
1 egg
melted butter

In my Kitchen Aid mixing bowl I added the sugar, salt, yeast and 2 1/4 cups flour.  I gave that a stir to mix all of the ingredients.  In a Pyrex bowl measure out 2 cups hot water.  I put the stick of butter in the measuring cup and stuck it in the microwave to heat it up.  The butter doesn't have to melt all the way but the water should be hot.

Slowly add the water/butter mixture to the flour mixture.  Beat well - add the egg.  Slowly add the flour, a 1/2 cup at a time, until the dough forms onto the dough hook and the dough comes away from the sides of the bowl.


Knead everything for about 10 minutes.  Remove the dough from the bowl.  Form the dough into a ball and let it rise in a warm place until double in size.  Punch down the dough.  Spray a large plastic Ziploc bag and put the dough in the refrigerator for at least 2 hours.  If you leave it overnight, you will need to punch the dough down a few times.

About 3 hours before you are ready to cook the rolls, let the dough come to room temperature.  Cut the dough into 30 different pieces and form into rolls.  Place in buttered dish and let rise until double.


Bake at 400 degrees for 15 -20 minutes.  Brush rolls with melted butter and serve.


Thanks Aunt Trudy for this great recipe!  These might be the best rolls I've ever eaten!

Aunt Trudy with my great nephew Callahan


Enjoy!  This recipe is featured on Lady Behind the Curtain!